Customer Segmentation in Excel: A Step-by-Step Guide
As a small business owner, marketing professional, or junior analyst, you might find yourself needing to understand your customers better, but without access to expensive, specialized software. You know that segmenting your customer base can reveal key insights for targeted marketing and improved sales, yet the tools often seem out of reach. Fortunately, you don't need complex platforms like SPSS or Tableau to start. Microsoft Excel offers a powerful, accessible, and cost-effective solution for performing basic customer segmentation analysis.
What is Customer Segmentation (and Why Use Excel for It?)
Customer segmentation is the process of dividing your customer base into distinct groups based on shared characteristics. These segments allow you to understand your customers more deeply, tailor your marketing messages, develop more relevant products, and ultimately increase customer satisfaction and profitability. Broadly, there are four different types of segmentations:
- Geographic Segmentation: Based on location (country, city, region).
- Demographic Segmentation: Based on characteristics like age, gender, income, or social class.
- Behavioral Segmentation: Based on customer actions, such as purchase history, product usage, or loyalty.
- Psychographic Segmentation: Based on lifestyle, interests, values, or personality traits.
Many believe that performing detailed customer segmentation analysis requires advanced software. However, Excel's robust data manipulation features, especially Pivot Tables, make it an excellent tool for initial analysis. It's a program most businesses already have, making it a highly accessible choice for how to segment customers in Excel without additional investment.
Setting Up Your Data for Customer Segmentation Analysis in Excel
Before you can begin segmenting, your customer data needs to be organized in a structured format within Excel. Each row should represent a unique customer or transaction, and each column should represent a specific attribute or variable. Common data fields include Customer ID, Age, Gender, City, Purchase Date, Product Category, Contract Type, and Tenure.
Ensure your data is clean and consistent. Inconsistent data can lead to inaccurate segmentation results. For instance, if gender is recorded as "Male," "male," and "M," Excel will treat these as three distinct categories. You might find it useful to learn how to clean messy Excel data in Power BI, and many of those principles apply equally well to preparing your data in Excel before analysis.
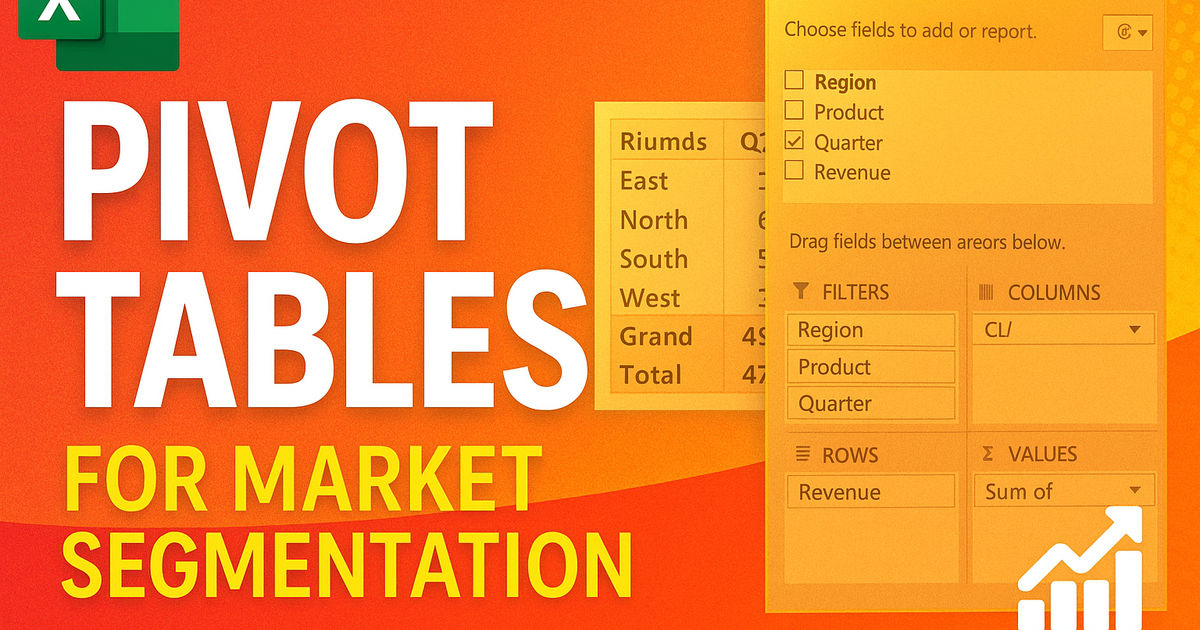
Once your data is ready, you'll primarily use Excel's Pivot Table feature. Pivot Tables allow you to summarize and analyze large datasets, making it easy to count customers, sum revenue, or calculate averages across different segments.
Performing Demographic Segmentation in Excel
Demographic segmentation involves grouping customers based on variables like age, gender, income, social class, or even lifestyle. These are often straightforward to collect and provide a foundational understanding of your customer base. For example, you might analyze customer counts and total revenue by age group or gender.
To perform demographic segmentation in Excel using Pivot Tables:
- Select your data: Highlight your entire customer dataset.
- Insert Pivot Table: Go to the 'Insert' tab and click 'PivotTable'. Choose to place it on a 'New Worksheet'.
- Drag fields to areas:
- To segment by Gender: Drag the 'Gender' field to the 'Rows' area. Drag 'Customer ID' (or any unique identifier) to the 'Values' area, ensuring it's set to 'Count'. This will show you the number of male and female customers.
- To include other demographic variables mentioned in the transcript, such as Senior Citizen status, Partner status, or presence of Dependents, you would drag these fields to the 'Rows' area alongside 'Gender' or in separate Pivot Tables. This allows you to see how many customers fall into categories like "male senior citizens" or "customers with dependents."
- Analyze results: The Pivot Table will instantly display the counts for each demographic segment, allowing you to quickly see the distribution of your customers.
This approach helps you visualize segments like "male" and "female" customers, or identify the proportion of "senior citizen" customers in your base.
Analyzing Behavioral Segmentation with Excel
Behavioral segmentation focuses on actual customer behavior, such as their purchasing habits, product usage, or interaction patterns. This type of segmentation reveals insights into what customers do, how frequently they engage, what benefits they seek, and what occasions drive their purchases.
Using Pivot Tables for behavioral segmentation in Excel:
- Prepare your data: Ensure you have columns representing behavioral data, such as 'Contract Type' (e.g., month-to-month, one-year, two-year), 'Tenure' (how long they've been a customer), 'Product Usage Frequency', or 'Benefits Sought'.
- Create a new Pivot Table: (If you're not adding to an existing one).
- Segment by Contract Type: Drag 'Contract Type' to the 'Rows' area and 'Customer ID' (counted) to the 'Values' area. This will show you how many customers are on a "Month-to-Month" contract versus a "Two Year" contract, as referenced in our course material.
- Analyze Customer Tenure: Drag 'Tenure' to the 'Rows' area. You might need to group tenure into bins (e.g., 0-6 months, 7-12 months, etc.) if it's a continuous numerical field, using the 'Group Selection' feature in Pivot Tables. This helps distinguish between new and long-term customers.
- Combine with other metrics: You can also drag sales revenue or average order value to the 'Values' area to understand which behavioral segments are most profitable.
By analyzing variables like contract type and customer tenure, you can identify segments of customers with different loyalty levels or purchasing commitments, enabling more targeted retention or upsell strategies.
Taking Your Customer Segmentation Further in Excel
The power of customer segmentation in Excel lies in its flexibility. You're not limited to the examples above. You can easily add new data columns to your original dataset and incorporate them into your Pivot Tables.
For instance, if you want to perform geographic segmentation, add a 'City' or 'Region' column to your data. Then, simply refresh your Pivot Table, and you can drag the new geographic field into the 'Rows' or 'Columns' area to analyze customer distribution by location. This allows you to build a dynamic excel template for customer segmentation tailored to your specific business needs.
To deepen your understanding and master these techniques, consider enrolling in Juno School's Market Segmentation with Pivot Tables in Excel course. It provides hands-on guidance on using Excel for comprehensive customer analysis.
While Excel is a great starting point, for very large datasets or more complex, automated reporting, you might eventually consider tools like Power BI. Understanding when to move from Excel to a Power BI data model can be a valuable next step for scaling your analysis.
Ready to level up your career?
Join 5 lakh+ learners on the Juno app. Certificate courses in Hindi and English.